
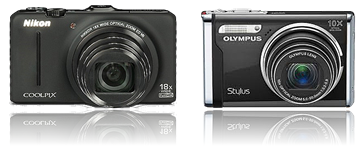
One of the good things about the bigger, fancier cameras is that you can swap lenses to get a longer or shorter lens or one with a wider diameter lens as needed. But how do can you get a similar effect when you have a small camera with just one lens? We have several pocket cameras, two Olympus and one Nikon. At least that is how I describe them. If it fits in a shirt pocket, it is a pocket camera. They are basically point-and-shoot. And are almost always set to a version of Auto.
When I do not use the zoom on my little Nikon, the standard F/stop in Auto mode seems to be F3.5. For most pictures I get a fairly decent depth of field. If I want to get a flower in the picture and have it be the primary item in the image, I may want a very shallow depth of field. I get close and take the shot at 1/60 shutter speed and F3.5. That is more than understandable because it is how this camera work.
Okay, there are not too many flowers in the yard right now, so I will use a Christmas ornament as an example. Since I was inside and there wasn’t much light, I needed a monopod or a tripod. I used a monopod and tried to stand still. A tripod would have been better… as you look at these, what is in focus and what isn’t? I put the settings for each picture below it.

(F/3.5, 1/5th second, ISO 400, focal length 3.6mm)
I let the camera focus on the fir needles right behind the sleeping boxer. The stuff behind the tree is out of focus and the foreground is definitely out of focus.
So what happens when I step back to twice the distance and zoom in to capture the same ornament? When I have the same area in the viewfinder I noticed that the shutter speed was still 1/60. But the F/stop was 5.7. Longer focal length, narrower aperture, and longer distance from lens to object all combine to give me a much deeper depth of field. And I did that without using the digital zoom feature on the camera.

(F/5.8, 1/5th second, ISO 800, focal length 26mm)
The ornaments are mostly in focus. The stuff behind the tree is still out of focus. It wasn’t just that I moved away from the object I wanted to take a picture of. I also used a longer focal length. But the focal length was a lesser percentage than the move away from the image. So with the “magic” in the camera auto-setting the shutter speed the same, I get enough light coming through the lens to hold the camera steady. The key then is to move back from the subject with a point-and-shoot camera to get a longer depth of field or to move closer for a shallower depth of field. Hmmm. Must not be that simple to get a change in depth of field.
What happens if I stay where I was when I moved back and not zoom in? And then just simply crop the picture to the same image area… well, as you can see here, as long as I don’t blow the print up too much I still have a very large depth of field. You can even see the screen in the window behind our tree. You couldn’t see that in the others.

(F/3.5, 1/5th second, ISO 400, focal length 4mm)
There is also another option with many small cameras… many of them have “scene” settings. Some of these settings are designed for taking pictures of things like sports, landscapes, and nighttime settings. Many of these settings have different shutter speeds or aperture settings built into them. My suggestion is to play with those settings and take a set of pictures all with the same object, background, and foreground. Comparing the pictures will show which settings give the best depth of field. Repeating the same process at multiple focal lengths and multiple distances gives and even more possibilities. The one below had a “sunset” setting applied to it. Warmer colors, but I would need a tripod and the timer to get the camera to be steady enough…

(F/5.7, 1/4th second, ISO 400, focal length 19mm)
So I guess the whole point of this post was really to talk about depth of field and what it gives you. This next photograph has a shallow depth of field. But with the focus on the front lily and the banner, you don’t notice that most of the rest of the picture is out of focus. If the background was as in focus as the foreground, the picture would not look the same. You would have to search for what I wanted you to see.

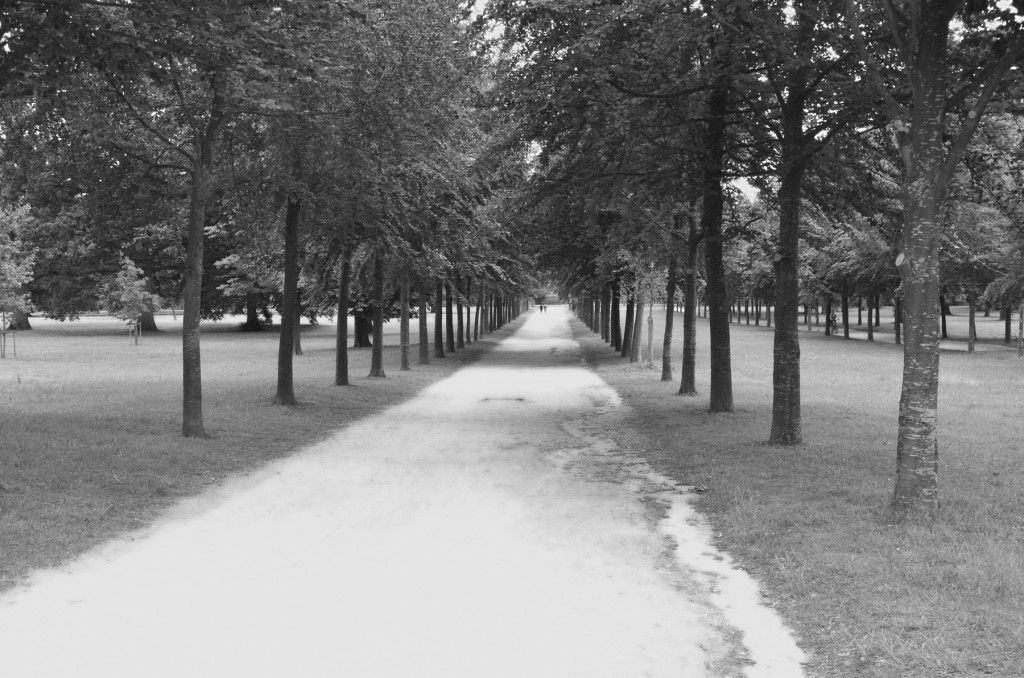
For this picture, I focused on the rock on the left shoreline. That brought both the foreground and the background into focus with the zoom about a quarter the way out.

And lastly, while I wanted a deep depth of field, I really didn’t care too much about the foreground. None of the people I have shown this picture to have noticed that the foreground is not in focus.
Depth of field is our friend then. It helps us bring what we want into focus and draw the viewer’s eye. It can also be used to take attention away from parts of the image we don’t want people to, uh, focus on… or some people might want to focus on something other than the foreground here.
![]()